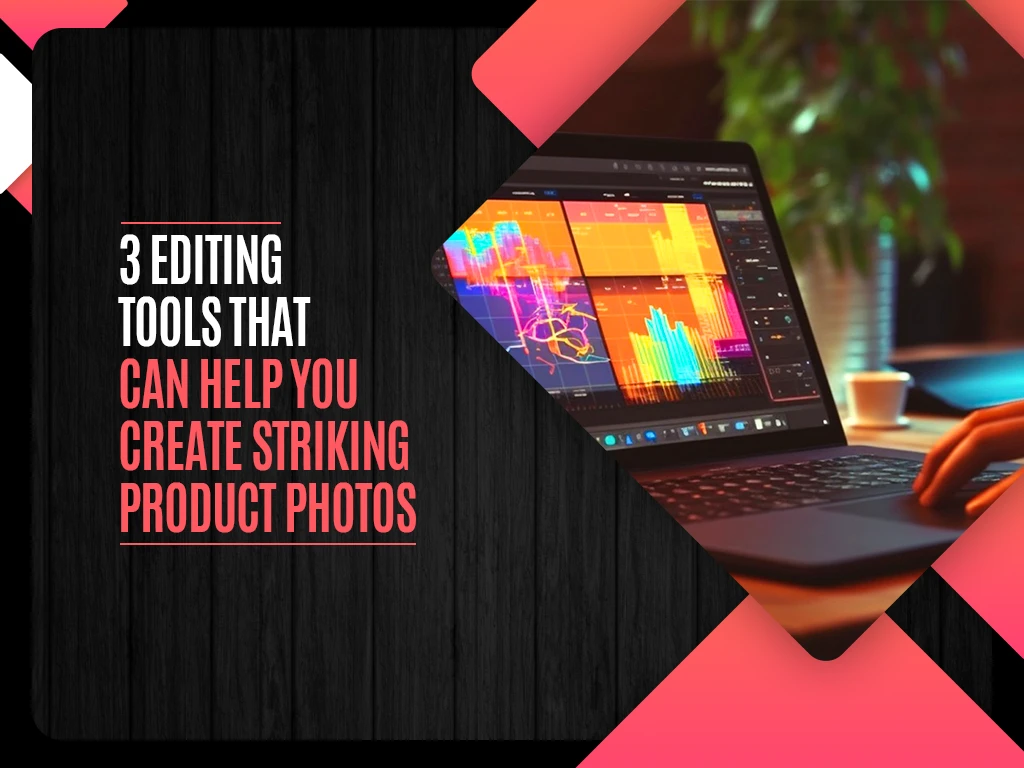
3 Editing Tools That Can Help You Create Striking Product Photos
Think that creating product pictures takes lots of time and money? Read further to learn how a smartphone with a good camera and a set of top editing solutions can help you produce great visuals.
How to Create Great Product Photos: Top Insights and Editing Tools
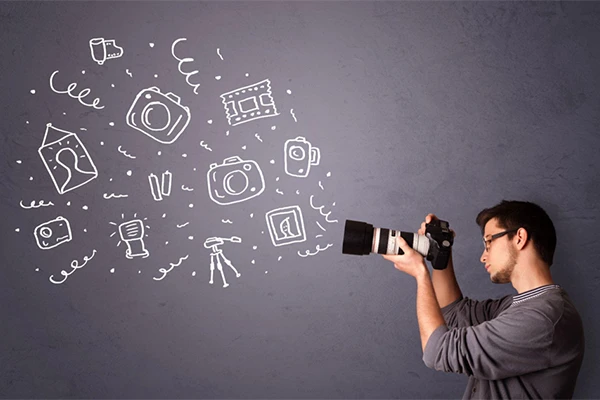
Businesses significantly benefit from high-quality product photos. 75% of online shoppers rely on presented visuals when deciding to purchase something. While small business owners might find taking product photos a challenging and expensive task, this isn’t always the case. You don’t have to be a photographer and have professional equipment to take these pictures; a smartphone with a good camera is often enough. Read further to learn useful tips about creating high-quality product photos and saving costs.
How to take product photos with your smartphone
#1 Use a tripod
A smartphone can be an alternative to a professional camera, even if it cannot boast top camera settings itself. However, you have to be mindful of the image stabilization function: all smartphones have it, but in some, it’s better, and in some, it’s worse.
The best way to ensure that no camera shake will ruin your product pictures is to use a tripod when taking photos. It doesn’t have to be an expensive professional device; you can use a small, low-priced tripod, as long as it delivers proper stabilization. And if investing in such an accessory is not an option, you can use objects around you (e.g., books, boxes, and other similar items) to support your phone during product shooting.
#2 Understand your smartphone settings

Most smartphones are great at auto-adjusting; for instance, they automatically turn on flash when you try to take pictures in the dark, identify the main object and focus on it, and do other things that some of us might not even notice. However, manually changing certain settings can improve your product photoshoot results.
Let’s take exposure as an example. iOS and Android devices allow you to adjust it by tapping on a screen and using the pop-up slider that appears. To lock these settings, you have to tap and hold your finger on a certain part of the screen—the main focus will also remain on that area. You can also focus your attention on other features, such as the timer and the flash (it’s better to turn it off if you’re taking pictures in natural light). Go to your phone’s camera settings, explore, and adjust them according to your needs.
#3 Use a clean background
Many product catalogs require visuals to have white or other neutral-colored backgrounds. If that’s the case, you can take a piece of light paper or fabric and shoot the products on it. You can also cut out and replace the background later using special online tools.
However, even if a solid-color background is not a requirement, you should still aim for a clean backdrop that isn’t cluttered with details. For instance, it could be a wooden surface for an aroma diffuser or the side of a sink for a skincare product—anything that won’t distract attention from the main object.
#4 Play with different camera angles
A front-on shot is the most basic and obvious solution for a product picture. However, customers would like to see more of a product—and that’s where photos from different angles come in handy. Such visuals not only show a product from all sides, but also help make a photo feed more interesting.
If a product has some interesting details (e.g., furniture texture and craftsmanship), take a close-up photo to highlight them. You can also picture different versions of the same product in one image, allowing the viewers to compare the color, size, and other details.
#5 Use props
Taking product pictures can be simple and complex, depending on set requirements. Some online shops and product catalogs stick to a minimalist style and demand the visuals to have either white or transparent background and no other objects in the picture. Some allow for more creativity. In the second case, you can use simple props to instantly make your visuals more engaging.
Items like string lights, glass balls, and CDs can cast interesting lighting on a product or its background. You can use colored blocks and books to put products on them and create visual hierarchy. You can also use objects like flowers, stones, and beads to form an aesthetic composition. Also, you can shoot products in action: for instance, take a picture of a knife when cutting a tomato.
#6 Research ideas to boost your creativity

There is no single best way to take product photos, but you can use plenty of creative ideas as a reference. One crucial thing beginner creators should remember is that using references is acceptable, but simply copying them is not. You can look for inspiration online, take notes of the angles, props, and colors, and then combine them in your own way to create something unique.
There are plenty of platforms to look for ideas—Behance, Pinterest, Instagram, and more. You can save references to your device or your board and make a habit of researching them every day. The more often you search for inspiration, the easier it will become for you to come up with creative ideas.
What comes after photographing the items: 3 editing solutions
Photographing products for websites is just part of the job; you also have to retouch and polish the pictures. Various editing tools can help you with that. You can pick one for a specific purpose or combine different solutions.
Depositphotos Image Upscale
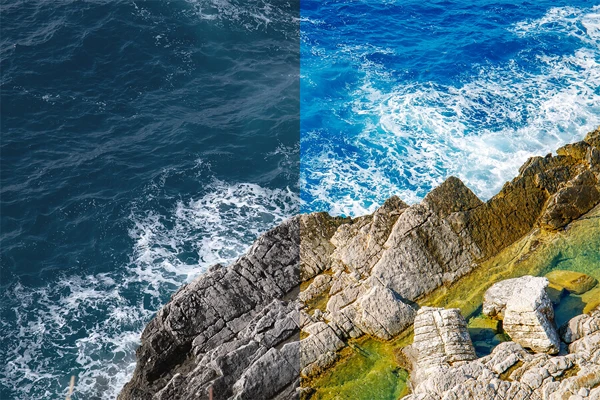
Poor image quality can ruin the most beautiful photos, making them look unappealing and unprofessional. However, if some of your visuals have quality issues, you can easily fix them with the help of Depositphotos Image Upscaler. This AI-powered online tool can be accessed from any device with a stable internet connection: laptop, smartphone, or tablet. Visit https://depositphotos.com/upscaler.html to enlarge a visual 2X and automatically improve quality, sharpen details, decrease noise, enhance colors, and eliminate blur.The tool is free and processes JPEG and JPG files with a maximum weight of 15 MB. Make sure to create an account to be able to download your upscaled images.
Snapseed
Snapseed is a free mobile editing app available for iOS and Android devices. If you’re looking for basic editing, you can apply color filters and make minor adjustments. If you’re looking for something more advanced, there are a variety of options. Snapseed has so much to offer, including selective editing, and it even allows you to save your custom presets and use them repeatedly. One of the app’s most useful features is the layer edit history, which allows you to discard changes made several steps ago.
Pixlr
Pixlr is a popular AI-powered photo editing, animation, and design platform. It has an online version, a desktop one for Windows, and several apps for iOS and Android: Remove Background, Stories, Photomash Studio, and Pixlr. You can use Pixlr’s tools to replace backgrounds, apply color filters and other effects, and edit your product photos as much as needed. Their free version grants you access to basic features; you must purchase an affordable monthly or yearly subscription to unlock the rest.
To sum up
It’s possible to take high-quality photos of products even if you aren’t an expert photographer and don’t have a professional camera. Modern smartphones allow for capturing detailed and bright pictures. All it takes to excel is learning useful tips and spending time on additional editing!