
Photo to Video AI: A Practical Workflow for Turning Still Images into Marketing Assets
Learn how to use Photo to Video AI to turn still images into engaging video assets for marketing campaigns and content.

A marketing team rarely runs out of photographs before it runs out of usable video. Product images, campaign portraits, lifestyle shots, and brand illustrations already exist, but turning those assets into motion usually means another production brief, another editing task, or another shoot.
Photo to Video AI offers a different starting point: use an existing image to create a short clip, then evaluate whether the movement serves the message.
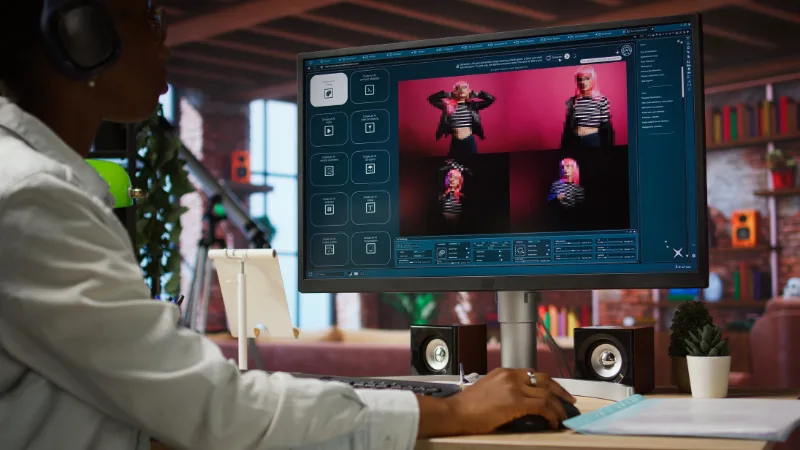
For teams exploring this approach, a browser-based photo to video ai workflow provides a practical place to begin. The homepage opens directly into an image-to-video generator, with an image upload, model selection, and optional motion prompt.
The opportunity is straightforward. A photograph that previously served one placement can become the basis of another creative asset. The challenge is deciding what should move, what must remain recognizable, and how much experimentation the task deserves.
Begin with the Asset You Can Already Approve
A useful photo-to-video workflow starts before generation. It starts with choosing a photograph that already communicates the right subject, setting, and visual identity.
Consider a product launch. If the approved image shows a perfume bottle on a stone pedestal, the composition already establishes the packaging, materials, and mood. The animation brief can concentrate on a controlled camera move or shifting highlights.
That is a more manageable assignment than asking one clip to introduce a new environment, rotate the bottle completely, change its packaging, and reveal information absent from the source image.
Photo to Video AI uses the uploaded image as visual guidance. However, that guidance does not guarantee that every detail will remain unchanged. The source provides a starting point; the generated sequence still needs review.
Choose a sharp image with a clearly visible subject. Leave enough space around it for the planned movement. If the photograph is tightly cropped, an ambitious camera move may be a poor fit for the available composition.
How to Use Photo to Video AI
The homepage generator is configured for image-to-video and defaults to Veo 3.1 Lite. Its main inputs are the source image and an optional prompt describing the motion.
A practical first attempt follows five steps:
- Sign in and upload your photo. Choose an image with a clear subject and a composition suited to the intended clip.
- Review the selected model. Start with the default or choose another available image-to-video model.
- Describe the movement. Specify the subject action, camera direction, and atmosphere.
- Check the available settings and credit estimate. Confirm the output format and resolution supported by the selected model.
- Generate, preview, and download. Watch the entire result before deciding whether it is ready to use.
The optional prompt makes the entry point simple, but a deliberate motion instruction makes the result easier to judge. “Make this cinematic” provides little guidance about what success should look like. “Keep the bottle stationary while the camera slowly moves closer” defines an observable action.
Treat the first generation as a test of that instruction. It should answer a specific question about the shot.
Write a Motion Brief That Matches the Photograph
Photo to Video AI includes four homepage prompt templates: Natural motion, Slow push-in, Smooth orbit, and Dynamic action.
These are starting directions. They become more useful when adapted to the actual image.
For a product photograph, a suggested prompt might be:
Keep the product stationary. Move the camera slowly closer while a soft highlight travels across the visible surface. Preserve the shape, color, packaging, and background. One continuous shot, no new text.
For a portrait:
Add subtle breathing and one gentle blink. Use a restrained camera push-in. Keep the face, clothing, pose, and lighting recognizable.
These examples are creative instructions, not guarantees of a particular result.
The important distinction is between movement and preservation. A good brief explains both. If the camera should move, say so. If the product should remain still, state that too.
An orbit also deserves more scrutiny than a small push-in. Moving around an object asks the model to depict surfaces that may not be visible in the photograph. For a product whose exact geometry matters, beginning with the visible angle gives the reviewer a clearer basis for comparison.
Choose the Model for a Specific Shot
The configured image-to-video workspace includes Veo 3.1 Lite, Fast, and Quality, along with alternatives such as Kling 2.6, Kling 3.0, and Seedance models.
That selection is useful when it supports a defined production question. A portrait animation and a product reveal may need different treatment, even if both begin with a still image.
Model names alone do not establish which option will produce the best result for your photograph. Compare a small number of candidates against the same brief. Look at subject appearance, movement, framing, and the details that matter to the intended use.
Available controls also differ by model and task. A setting shown in one workflow should not be assumed to exist in every other workflow.
For example, the site has dedicated entries for Image to Video, First & Last Frame, and Reference to Video. These represent different input requirements. Some configured models also require a previous successful purchase, so an account with evaluation credits does not automatically have access to every option.
Understand the Credit Cost Before Generating
Photo to Video AI makes credit cost part of the generation workflow. The current configuration provides a concrete comparison for an eight-second Veo 3.1 Lite clip:
| Resolution | Configured credits per generation |
| 720p | 30 |
| 1080p | 45 |
This difference matters when several attempts are planned. Four generations at 720p would use 120 credits at these configured rates. Four at 1080p would use 180 credits.
Those figures describe generation spending, not a guaranteed number of publishable clips.
The current new-account gift configuration provides 30 credits with a 30-day validity period. At the configured 720p Lite rate, that corresponds to one generation.
Use that first attempt to evaluate the workflow with a representative image. A photograph similar to your actual campaign material will tell you more than an unrelated example.
Before submitting later jobs, review the estimate shown for the selected settings. Other models use different pricing structures, and some vary with duration, resolution, or audio options. A single credit figure should not be treated as the price of every video on the platform.
Use Different Inputs for Different Creative Goals
A single source photograph suits a brief centered on bringing an existing composition into motion. Other assignments benefit from more explicit visual guidance.
First & Last Frame is intended for a transition with a defined beginning and ending. If the goal is a before-and-after reveal, providing both states gives the workflow clearer visual targets than describing the entire transformation in text.
The two images still need to make sense together. Similar framing and compatible subject placement make the proposed transition easier to assess.
Reference to Video uses multiple images on compatible models to guide appearance and scene details. It is relevant when the brief calls for visual references beyond a single starting frame. Image limits and supported behavior depend on the model.
The workspace also includes Image to Image. When the source needs a different visual treatment, the site presents editing the still first and animating it afterward as an available workflow.
This creates a useful review point: approve the revised image before spending credits on its motion.
Apply Photo to Video AI to a Defined Placement
The strongest brief includes a destination.
For an online store, a short product clip might emphasize a visible material or surface detail. The review should focus on whether the item remains an accurate representation of the product.
For a social post, a portrait or pet photograph might need only a small gesture and a simple camera move. The composition should suit the supported vertical format selected in the generator.
For artwork, the task might be to add atmosphere while retaining the illustration’s visual style. For an old family photograph, restrained movement can create a moving keepsake, but the animation represents newly generated motion rather than recovered footage.
Photo to Video AI also provides presets and examples for several of these subjects. They help establish a direction, but the final brief should reflect the image being uploaded.
Define what the clip contributes to its placement. That decision gives the reviewer a reason to accept, revise, or reject the output.
Review the Details That Carry the Message
A convincing first frame can hide problems later in the sequence. Watch the complete video and inspect the moments with the most movement.
For a product, check packaging, proportions, color, text, and reflections. For a portrait, check facial appearance, eyes, hands, and expression. For an illustration, check linework and character details.
Also review framing. A subject that looks well positioned at the beginning may approach an edge as the camera moves.
If the result misses the brief, identify the failure before generating again. Was the action too large? Did the camera reveal an unsupported angle? Did the product change shape? A targeted revision is easier to evaluate than adding more descriptive language without addressing the problem.
Keep the source image, prompt, model name, and selected settings together. This gives future revisions a clear record of what was requested, although it does not guarantee an identical regeneration.
Photo to Video AI becomes useful when each attempt has a purpose. Start with an approved image, request a movement suited to that image, check the cost, and review the resulting sequence against the intended placement. That process turns photo animation into a practical content workflow.