
How to Turn Any Photo Into a Video With Viddo AI
Learn the exact process for turning still photos into smooth animated videos using Viddo AI, with specific techniques that eliminate common mistakes.

Most people trying photo animation for the first time hit the same wall: they upload a picture, type a hopeful sentence, press generate, and get back something that either barely moves or warps into a mess. Then they conclude the technology is not ready. In almost every case, the tool was fine, the process was not, because animating a still image is a skill with a right order and a few rules, not a single magic button. This is a step-by-step guide to doing it properly with an image to video ai, covering what to prepare, how to run it, and how to fix the results that go wrong. Follow the order and the hit rate climbs sharply.
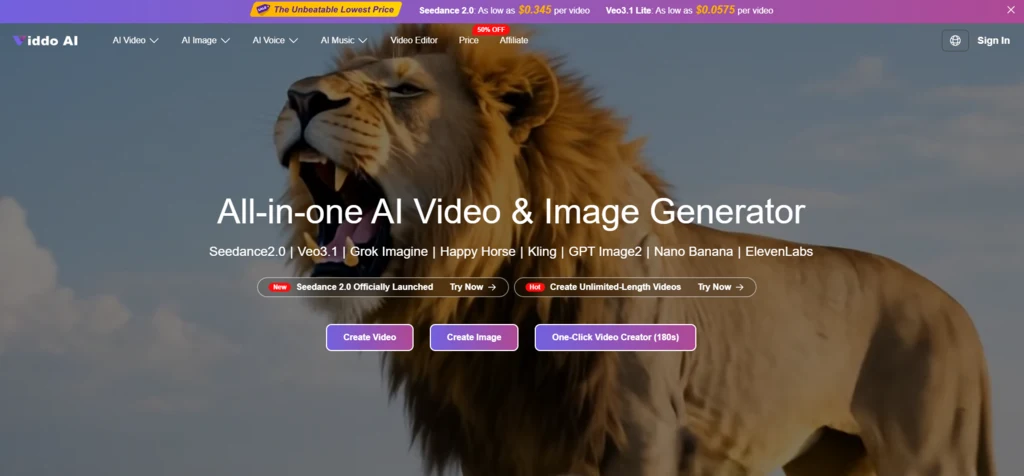
The tool used throughout is Viddo AI, which takes a single photo and generates a short clip with invented motion. The steps are the same whichever engine you pick, so the method here transfers cleanly across the models the platform offers.
How to Choose a Photo That Will Actually Animate
The result is decided before you upload anything, at the moment you pick the source image. A model animating a photo has to invent the frames that never existed, so the more it has to guess, the more it drifts. From a practical user perspective, that means simple images win. Choose a photo with one clear subject, even lighting, and an uncluttered background, and save it as a clean JPG or PNG. Avoid busy group shots, dim or blurry pictures, and anything that depends on tiny readable text, since those are exactly the cases where invention goes wrong. Getting this one choice right does more for the outcome than any prompt.
How to Run the Core Workflow Step by Step
Once you have the right photo, the production path on Viddo AI is short and the same every time. Learning it once with an image to video ai means every later clip follows the same rhythm.
Sign In and Open the Image to Video Tool
Create a free account or log in, then open the image-to-video tool from the dashboard.
The Starting Point Never Changes Between Projects
Whether you are making a quick single clip or something more considered, the entry path is identical, so there is nothing new to relearn each session.
Upload the Photo and Write a Motion Prompt
Upload your chosen JPG or PNG, then write a short prompt describing the motion you want, such as a slow camera push toward the subject.
Describe the Movement, Not the Whole Scene
The picture already shows what things look like, so spend the prompt on how the camera or subject should move rather than re-describing the image. A built-in helper can expand a few keywords into a fuller prompt if the wording feels thin.
Set the Options and Generate the Clip
Choose resolution, aspect ratio, and duration to match where the clip will be posted, then generate and export the finished video.

Regenerate or Extend When the First Pass Misses
If the result drifts, adjust the wording and run it again, and if the idea needs to run longer, the Extend Video option continues from the generated clip rather than forcing a stitch.
How to Write Motion Prompts That Hold Together
The prompt is where most first attempts fail, and a few habits fix that fast. The guiding idea is that every word of motion is an instruction about how much to invent, so asking for less keeps the picture intact.
Prefer Camera Motion Over Subject Motion
Moving the viewpoint is safer than moving the thing in the frame, because the subject barely changes.
Slow Pushes and Gentle Rises Are the Safe Bets
In my testing, slow forward pushes and small rises held the subject convincingly across engines, while large gestures or head turns were where faces and shapes started to wander. When in doubt, move the camera and leave the subject mostly still.
Keep Each Prompt to One Clear Movement
Stacking several motions into one prompt tends to dissolve into visual noise.
One Motion Beats Three Competing Ones
A prompt built around a single dominant move produced cleaner clips than a layered one. If a result wobbles, thinning the prompt to one instruction fixes more than adding detail ever does. Results may still vary between runs, so treating best-of-two as normal is part of the method.
How This Method Compares to Guessing Your Way Through
The table sets the ordered approach against the trial-and-error most people start with, in plain terms.
| Dimension | Following the Method | Guessing at Random |
| Source choice | Simple, clean image chosen first | Any photo, hoped for the best |
| Prompt focus | Motion described, one move | Whole scene re-described |
| First-pass hit rate | Higher, fewer surprises | Low, frequent warping |
| Fixing a bad result | Adjust one variable at a time | Start over blindly |
| Learning curve | Compounds with each clip | Stays frustrating |
The Limits This Guide Cannot Remove
Even a clean process runs into the boundaries of the underlying models. Prompt quality still shapes the outcome, so vague wording produces vague clips. Complex scenes may need several generations before one holds, and identical prompts can differ run to run, so consistency across a batch is not guaranteed. Faces pushed toward big movement remain the likeliest thing to distort, and fine on-screen text stays unreliable, which makes overlays the safer choice when words must be read. The source photo sets a ceiling that no prompt can raise. Free-plan output on Viddo AI carries a watermark, so watermark-free, commercially usable clips require a paid plan. The method improves your odds; it does not repeal these limits.

When This Approach Is Worth Your Time
The method pays off most for anyone who animates photos more than once, since the habits compound: creators reusing a photo archive, marketers turning product shots into short loops, and anyone whose earlier attempts kept drifting from what they pictured. If you only need a single clip and are happy to let the helper guess for you, the simplest path is enough. But if you plan to make animated clips regularly, learning to choose the right photo, describe one clear motion, and fix results by changing one thing at a time turns image animation from a gamble into a repeatable, teachable process, and that is what makes the difference between an occasional lucky clip and a reliable one.